Gluten-Free & Vegan Shokupan
I first tinkered with this six ingredient, gluten-free shokupan made with short grain rice a few years ago. It shot to my attention via the beautiful loaves, Comeco Cafe are known for in Sydney. I missed out on a Boxing day workshop they did in 2021, but sort to crack the code myself with the help of some deep research.
The big conundrum for making shokupan in Australia is the lack of access to Mizuhochikara. A type of rice flour, suitable for all types of rice bread that performs in its own distinct way. There's no substitute. So that leaves us with making entirely gluten-free shokupan from whole short grain (sushi) rice. The main reason (I've found) that this isn't perfect, is that it's haaaard going on your blender. I no longer make it often because my blender is 7 years old, overheats more easily and the blades aren't what they once were. But it is still achievable, and hopefully for your blender too. I just wouldn't try it in a NutriBullet - it has to be a proper high powered blender (I'm not responsible for any blender-aging this may induce!).
This recipe is adapted from Chloe Ting's recipe, found here
What can you expect?
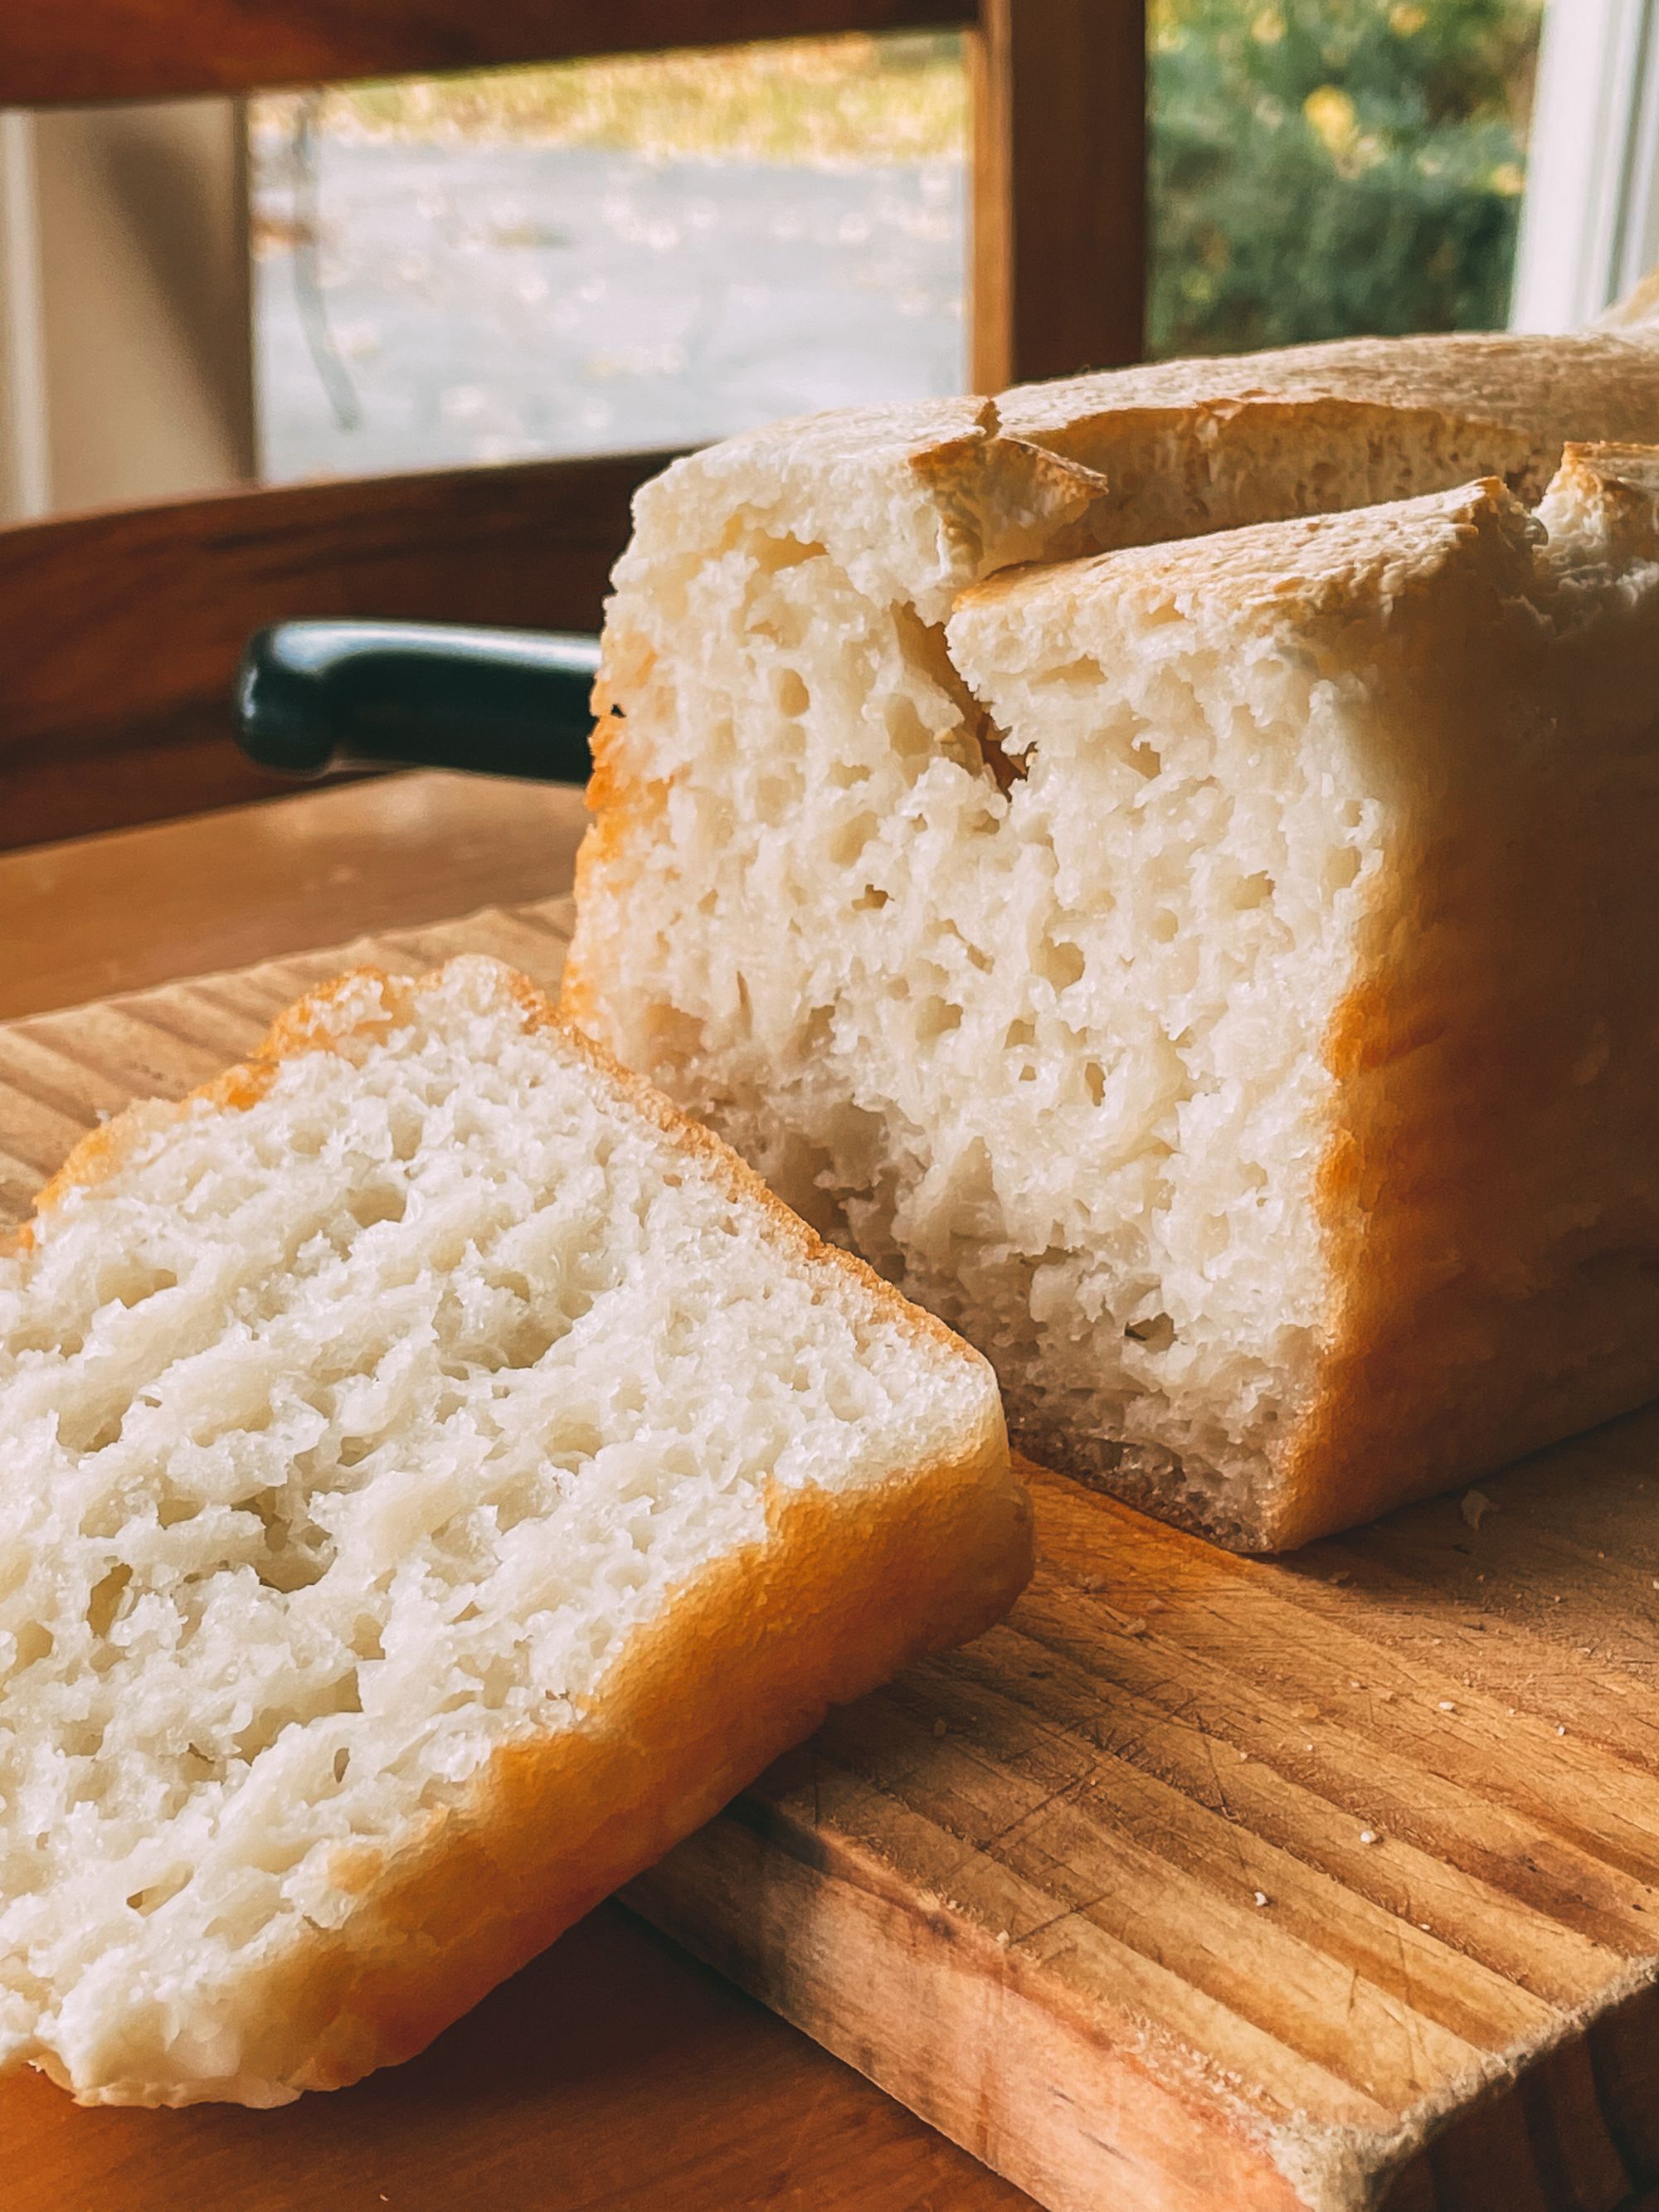
- A fluffy, sourdough/wonder white-like loaf that smells and tastes like half bread, half-pastry
- Bar the soaking of rice, this recipe is QUICK to make. The loaf can rise in as little as 10 minutes so don't leave it be, you'll overproof it and it won't cook right
- Bread that is best still warm, with a wodge of cold butter (vegan or not). After day one, reheat in the microwave or toaster
- This recipe just does turn out different every time - be prepared for that (it will always taste delicious though)
INGREDIENTS
- 510g sushi rice, soaked for 3 hours minimum
- 60g coconut oil, unscented (use any light-flavoured vegetable oil)
- 36g maple syrup (or other liquid sweetener)
- 9g salt
- 225g room temperature water
- 6g yeast
METHOD
- Preheat your oven to 180C/360F. Grease (and maybe line - I do the sides for easy removal), one loaf tin. Banana bread tin size.
- Drain your soaked rice through a sieve, briefly rinse then tap dry. Lay out a clean tea-towel on your bench and tip your rice into the middle of it. Careful not to let any grains escape, rub the rice dry with the sides of the tea-towel. The rice will still be damp-ish, but not sopping.
- Tip the rice into your blender, along with the coconut oil, maple syrup, salt & water. Blend on high for 30 second intervals (or less if your blender finds that too much - no shame!), scraping down the sides, if necessary. I find 3-4 minutes achieves the ideal consistency. You want a marshmallow fluff like mixture, that's glossy, almost metallic white. When you rub the mixture between your fingers, it will feel mostly smooth with only a few grainy bits. It almost has a thin, putty-like consistency.
- For this next step, the mixture can be warm - but let it sit for a bit if it's steaming hot. Add the yeast to the mixture and blend on medium for 10-15 seconds just until combined.
- Scrape the mixture into the greased loaf tin. Tap on the counter to level, then using a knife, mark a horizontal line on the inside of the tin, where the height will signify it has doubled in size. Cover with a damp tea towel and place in a warmish spot (although the mixture will be so warm, it would probably still rise in a blizzard!). Set a timer for 10 minutes. Check after then to see how quickly it's rising. You don't want it to rise more than twice its starting size (aka above the line you marked), so keep checking back in 10 minute intervals.
- Once doubled in size, bake in the preheated oven for 30 minutes. Leave to cool in the tin for 5-10 minutes before turning out on a cooling rack. Let it sit for 30 minutes before tucking in, but it's definitely best enjoyed warm. It will keep for a few days, but is best toasted/microwaved after day one.